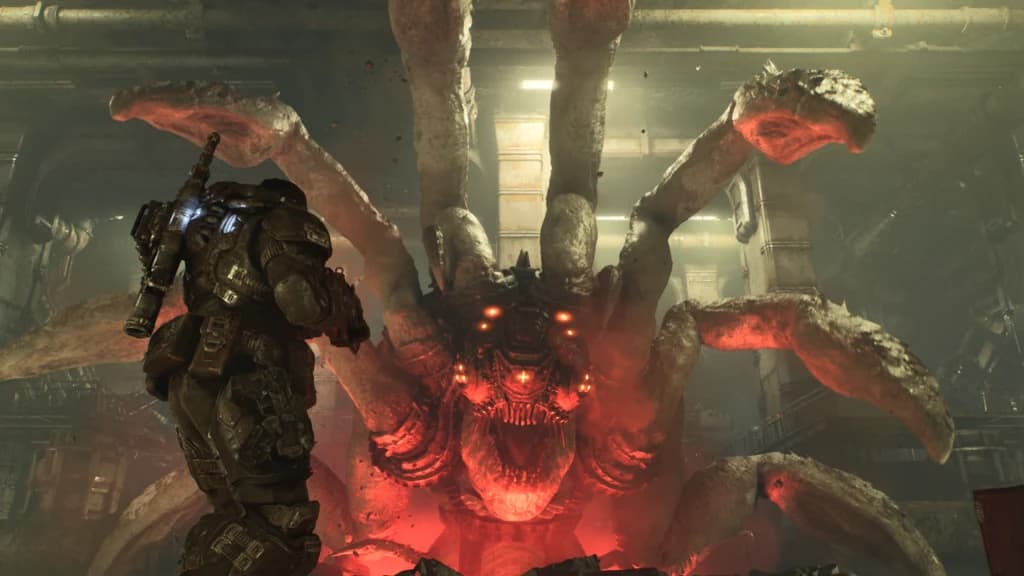
Keep the chapter you need open
Open only your current chapter below. Tick it after clearing it; the tick is your own note, not a connection to the game save. The collectible count is a separate check before leaving a chapter.
Your checks are saved in this browser. This checklist does not sync with the game.
| Done | Chapter | Collectibles |
|---|---|---|
| 1 · Stranded | 5 | |
| 2 · Enemy Lines | 6 | |
| 3 · Last Foothold | 14 | |
| 4 · The Convoy | 3 | |
| 5 · Desperate Times | 5 | |
| 6 · Desperate Measures | 3 |
Keep the Act 3 collectible checklist beside this route. For upgrade rewards and optional rescues, use Hard Cases, Supply Caches and secondary objectives.
1 · Stranded
Story spoilers · open to readOpen Stranded: route, encounters and pickup pauses
Reported route: take the rope beyond the campers to Fairlight Outpost. The dark helipad needs power: enter the breaker facility, restore it and clear the landing-zone attack.[4]
Fairlight’s base/airfield is confirmed by the illustrated collectible route. Adam Stewart’s encounter guide identifies the first Armored Wretch stun in this chapter.[2][5]
If the landing objective is waiting on power, inspect the current Tac-Com task before searching the pad itself. Save a pickup pause for the camp approach rather than rushing straight downhill.
2 · Enemy Lines
Story spoilers · open to readOpen Enemy Lines: route, encounters and pickup pauses
Reported route: use the crashed Raven’s radio, follow the temporary squad split to Cooper Station, then climb via the damaged trains toward the surface route.[4]
Boss: Corpser encounter guide.[3]
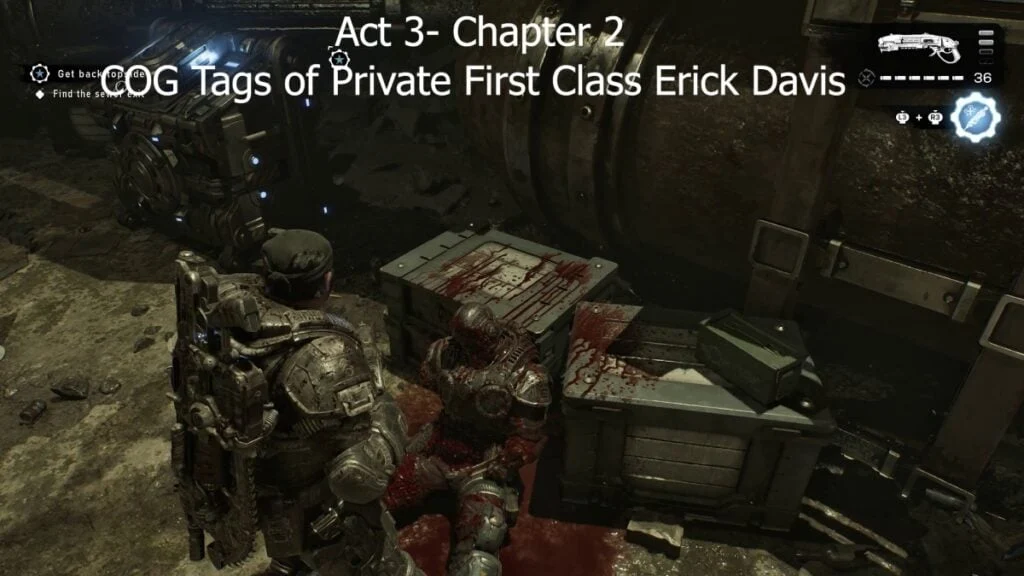
For Payback’s A Pitch, Stewart chainsawed the Armored Wretch responsible for the stun while his screen was still disoriented. His successful attempt was in this Corpser fight; he did not establish that chainsaw is the only valid method.[5]
Review the encounter’s own solution before spending ammunition. A familiar creature name is not a reason to copy a previous game’s boss strategy.
3 · Last Foothold
Story spoilers · open to readOpen Last Foothold: route, encounters and pickup pauses
Reported route: use the alley back toward the stadium, clear its perimeter, then prepare the evacuation trucks at the hotel for the Fort Vigil convoy.[4]
This is a map exploration chapter. The hospital and civilians at the loading bay are useful sweep landmarks; the Blade-like Projectiles pickup requires the final side mission after the new flying enemy.[2]
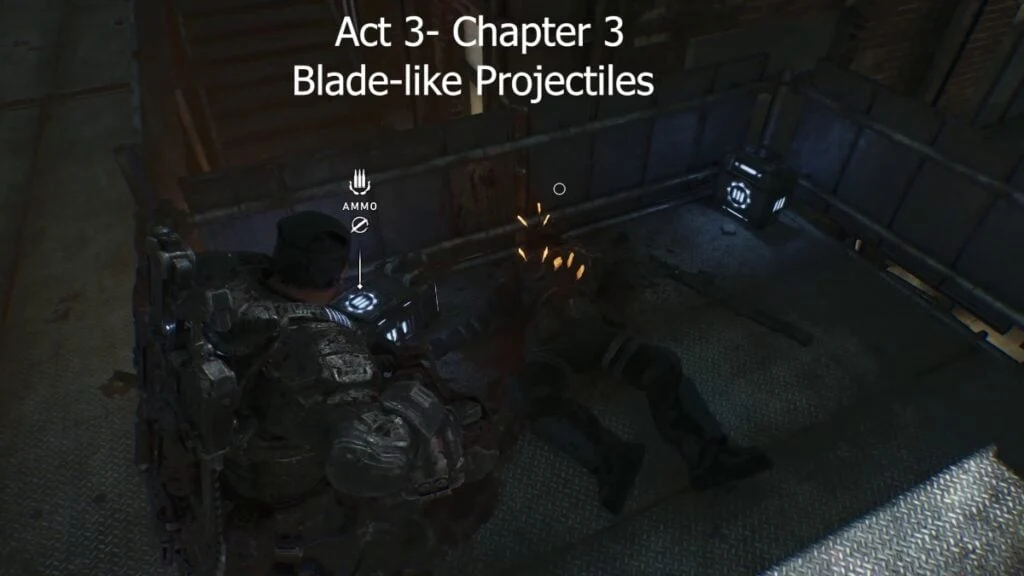
Before preparing the convoy, review the map and secondary-objective checklist. A route back through familiar streets can still contain newly available tasks.
4 · The Convoy
Story spoilers · open to readOpen The Convoy: route, encounters and pickup pauses
Reported route: the raised bridge stops the vehicles. Reach its upper-deck controls, lower it, and protect the convoy from above until the crossing opens.[4]
The control room also contains Kevin Garbor’s tags; the police vehicle below the bridge is the Locust Crest landmark.[2]
Activation and completion are different moments. Stay with the bridge-defense task until the objective changes, then regroup with the convoy.
5 · Desperate Times
Story spoilers · open to readOpen Desperate Times: route, encounters and pickup pauses
Reported route: clear upper-floor and rooftop positions before moving civilians. Flank the sniper tower, clear the street below, then send the group toward Fort Vigil.[4]
The collectible route confirms the apartment, rooftops, downward street route and Torque Bow tower. The Explosive Bolt is at that tower’s top.[2]
Give the civilian group a safe destination before advancing it. For the tower encounter, take the covered flank rather than pausing in the exposed lane to exchange shots.
6 · Desperate Measures
Story spoilers · open to readOpen Desperate Measures: route, encounters and pickup pauses
Reported opening: answer the Fort Vigil wall-defense call and use its mounted weapons against the assault.[4]
The GSC route continues through the fort’s main entrance while pursuing a Brumak, then through the gift shop.[6]
Commander’s Letter Home: down-left of Fort Vigil’s statue, by the red-lit truck, around the act transition.[2][6]
The Morith Harbor Snow Globe is inside the gift shop.[2]
- 2:18:52
Resupply after wall defense
Return to Rustin before the gate assault.
- 2:22:25
Take the mid-ramp
After the breach, follow Zee and clear the Locust.
- 2:23:43–2:24:18
Gift shop → broken wall
Use the Supply Cache; crawl through the low opening.
- 2:24:28–2:26:06
Fight from the colonnade
Fire from stone columns until the finishing scene.
Resupply · Mid-ramp · Gift shop · Low opening · Fight · Finishing scene.[7]
The recorded Brumak has a back-mounted launcher and sustained gunfire. Ben-Gun alternates rifle and Torque Bow shots from stone columns; Tai’s callouts ask Bravo to maintain fire and draw its attention.[7]
Difficulty, mandatory weapons, damage multipliers and fixed health phases are not established by this recording.[7]
Reload while sheltered and leave yourself a covered fallback when moving. Check the shop pickups before the last arena, and the boundary letter around the Act 3–4 transition.
What this route establishes
Reported routes come from Whisper’s illustrated guide: its author and difficulty are unstated, and its sourcing policy allows research alongside gameplay. Named firsthand guides support the separate encounter and pickup notes.[8]
The Corpser guide and Ben-Gun’s late Fort Vigil recording establish their respective encounters. Earlier transitions remain publisher-reported; a successful recorded run does not establish every tactic or difficulty-specific behavior.
Advice labelled Editorial is our planning suggestion. It does not establish a required weapon, a fastest route, an enemy health value or a difficulty-specific strategy.
Sources & further reading
- Published campaign order: all acts and chaptersWhisper of the House · October 2, 2026
- Act 3 collectible locations with gameplay screenshotsThe Nerd Stash · Julio La Pine · October 1, 2026
- Firsthand Corpser encounter: Act 3, Chapter 2 pillar phases, screenshots and videoGamer Social Club · Adam “Addy” Stewart · October 1, 2026
- Published illustrated Act 3 route (incomplete after Fort Vigil defense)Whisper of the House · October 2, 2026
- Firsthand Armored Wretch retaliation achievement methodGamer Social Club · Adam “Addy” Stewart · October 1, 2026
- Firsthand Act 3 collectibles, Hard Cases and secondary objectivesGamer Social Club · Adam “Addy” Stewart · October 2, 2026
- Act 3 recorded gameplay: Fort Vigil defense, mid-ramp pursuit and late Brumak encounterBen-Gun / YouTube · October 2, 2026
- Publisher editorial and sourcing policyWhisper of the House