
Follow the case marker, then equip the reward
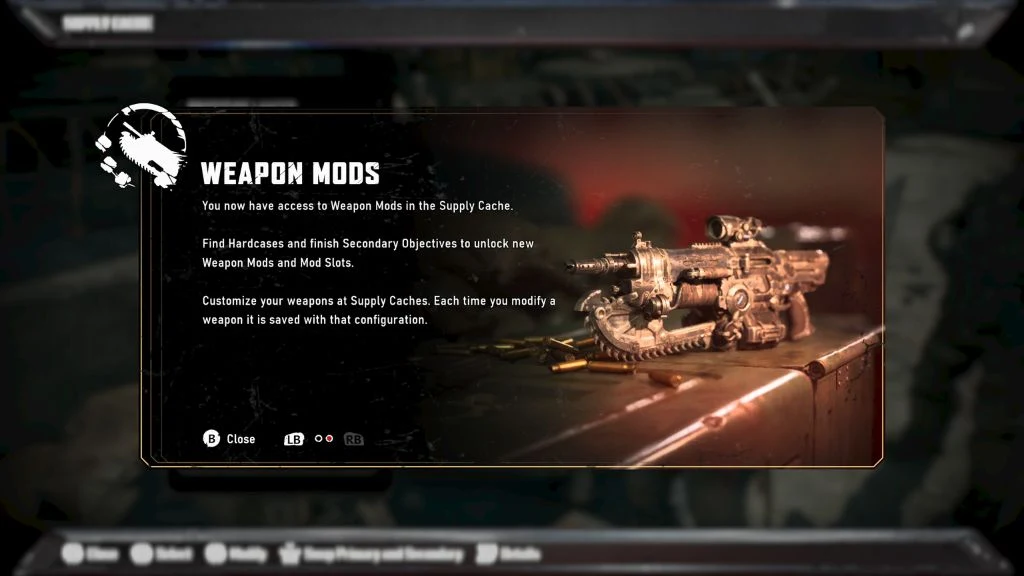
Hard Cases and secondary objectives unlock campaign mods and slots. Equip them at a Supply Cache.[12]
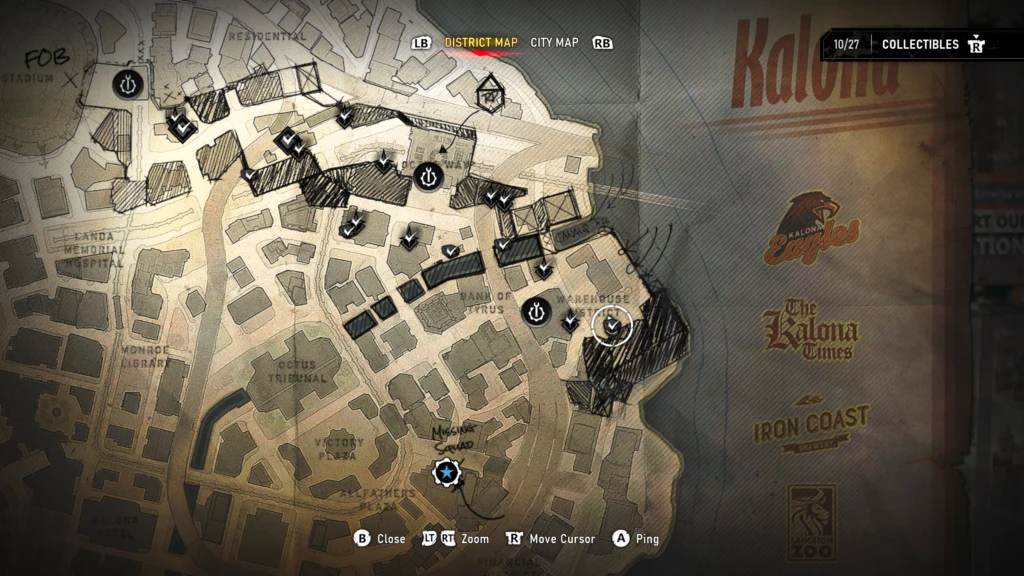
Nearby notifications, Tac-Com and district-map markers help locate cases. A marker can appear before its approach becomes accessible.[2][13]
Act 2 checklist · 36 cases
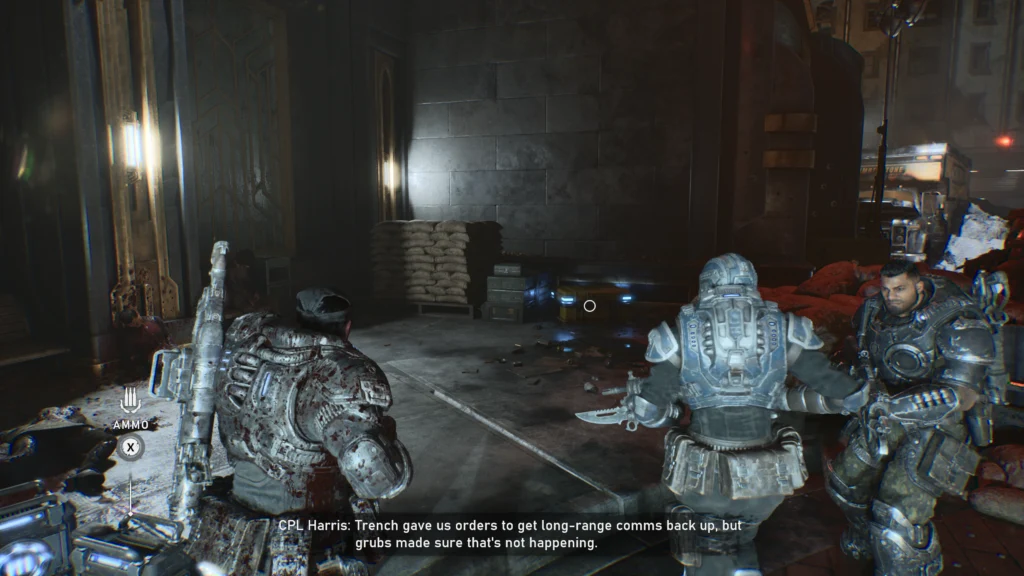
Numbers below restart within each stage and identify this route’s rows; they are not official item IDs. Check each container after opening it. Hold the Line contributes 1 + 18 + 8 cases, followed by six in No Gear Left Behind and three in Overrun.[2]
Your checks are saved in this browser. This checklist does not sync with the game.
| Done | Case | Landmark / approach |
|---|---|---|
| 1 | Burnt bus: junction’s right branch. |
Your checks are saved in this browser. This checklist does not sync with the game.
| Done | Case | Landmark / approach |
|---|---|---|
| 1 | Construction site: upper floor. | |
| 2 | Major Burger car park: top. | |
| 3 | Canal path below bridge. | |
| 4 | Yard south of Amberstone. | |
| 5 | Southern district alley: map. | |
| 6 | Roadblock ladders → window room. | |
| 7 | Kalona Times: upper floor. | |
| 8 | Newspaper kiosk. | |
| 9 | Crashed truck: enemy ambush. | |
| 10 | Eastern construction stairs → road, left. | |
| 11 | Pharmacy opposite previous case. | |
| 12 | Opposite construction: container → upper room. | |
| 13 | Muster-point loading-dock alley. | |
| 14 | Muster-point building: right-hand pillars. | |
| 15 | Amberstone: main objective route. | |
| 16 | Riverside underground car park. | |
| 17 | Bank vault: right side. | |
| 18 | Charlie camp: right-hand table. |
Your checks are saved in this browser. This checklist does not sync with the game.
| Done | Case | Landmark / approach |
|---|---|---|
| 1 | Military camp: shipping container. | |
| 2 | Monroe Library park: back left. | |
| 3 | Kalona Hotel entrance: right. | |
| 4 | Opposite hotel: rope → balcony. | |
| 5 | Whiskey Squad search-area alley. | |
| 6 | Behind police car. | |
| 7 | Fountain courtyard: left. | |
| 8 | After hotel: street car, right. |
Your checks are saved in this browser. This checklist does not sync with the game.
| Done | Case | Landmark / approach |
|---|---|---|
| 1 | Traffic tunnel: central barricade. | |
| 2 | Tunnel exit incline: right. | |
| 3 | Golden statue plaza: right corner. | |
| 4 | Right-hand scaffolding → container. | |
| 5 | Scaffolding drop: objective path, right. | |
| 6 | Captain Gray walk: building, left. |
Your checks are saved in this browser. This checklist does not sync with the game.
| Done | Case | Landmark / approach |
|---|---|---|
| 1 | Warehouse exit breach: right. | |
| 2 | Red crater: bottom. | |
| 3 | Final hangar: by the cache. |
Game8 reports an Armor Mod Slot in the Amberstone case beside the stairs during Secure the Imulsion stockpile: Hold the Line, Part 2, row 15 above.[15]
Act 3
Your checks are saved in this browser. This checklist does not sync with the game.
| Done | Case | Landmark |
|---|---|---|
| 1 | Crashed Raven: left. | |
| 2 | Fairlight: red containers. | |
| 3 | Substation: left corner. |
Your checks are saved in this browser. This checklist does not sync with the game.
| Done | Case | Landmark |
|---|---|---|
| 1 | Beyond Gnasher room: right. | |
| 2 | Upper subway: planks, right. | |
| 3 | Station cache: left. | |
| 4 | Train crossing: left divider. | |
| 5 | Beyond crossing: right. | |
| 6 | Fallen statue: descend left. | |
| 7 | Right turn: left cliff. | |
| 8 | Beside sewer cache. |
Your checks are saved in this browser. This checklist does not sync with the game.
| Done | Case | Landmark |
|---|---|---|
| 1 | Theater: subway-side pool hall. | |
| 2 | Skytrain building exit: left. | |
| 3 | Beyond bus: left wall. | |
| 4 | Library briefing: rear left. | |
| 5 | Hospital entrance roof. | |
| 6 | Hospital road: opposite cache. | |
| 7 | Library parking: rear left. | |
| 8 | Police crossroads: skytrain platform. | |
| 9 | Library supermarket: backroom. | |
| 10 | Hotel pharmacy: through windows. | |
| 11 | Under friendly roadblock. | |
| 12 | Hotel interior: left sandbags. |
Your checks are saved in this browser. This checklist does not sync with the game.
| Done | Case | Landmark |
|---|---|---|
| 1 | Courtyard: rear right. | |
| 2 | Bridge: under truck. | |
| 3 | Before drop: left barricade. | |
| 4 | Before rope: roadside crates. | |
| 5 | Control room: left. |
Your checks are saved in this browser. This checklist does not sync with the game.
| Done | Case | Landmark |
|---|---|---|
| 1 | Beer/couch room: right. | |
| 2 | Outdoor fight: left fence. | |
| 3 | Wretch room: left crawlspace. | |
| 4 | Reaver courtyard: left fence. | |
| 5 | Torque Bow: before bridge, right. |
Your checks are saved in this browser. This checklist does not sync with the game.
| Done | Case | Landmark |
|---|---|---|
| 1 | Fort: left stairs. | |
| 2 | Upper steps: left walkway. | |
| 3 | Entrance: left barrier. | |
| 4 | Past flag: left ledge. | |
| 5 | Gift shop: upper left balcony. |
Act 4
Your checks are saved in this browser. This checklist does not sync with the game.
| Done | Chapter | Landmark | Reward |
|---|---|---|---|
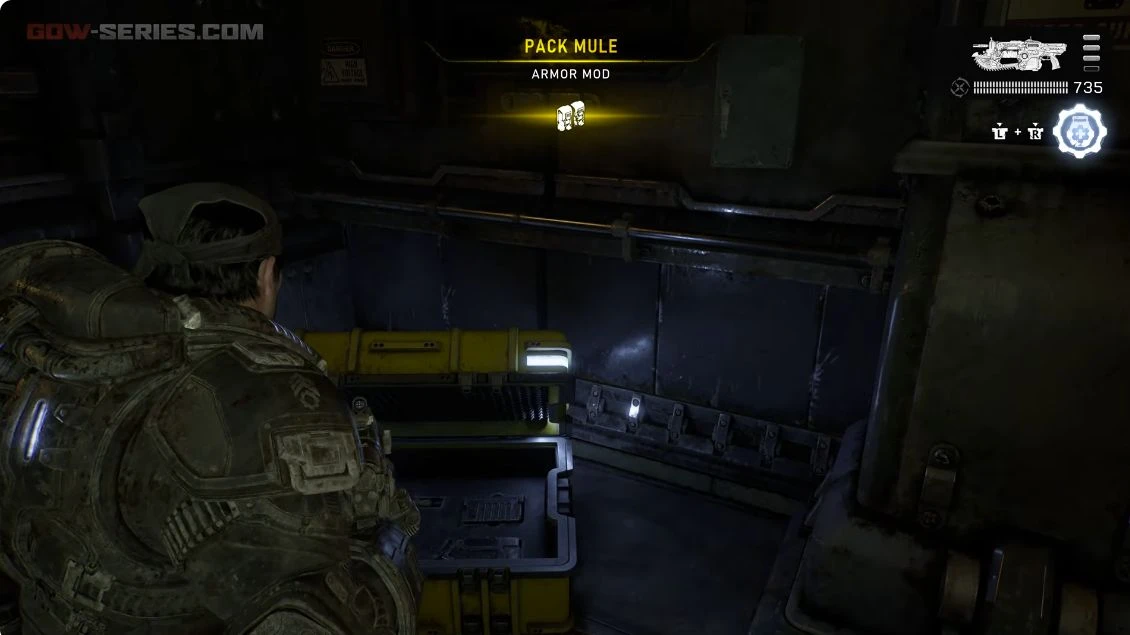
| Critical Failure | TIMGAD reception · Counter’s left | Pack Mule · Armor Mod | |
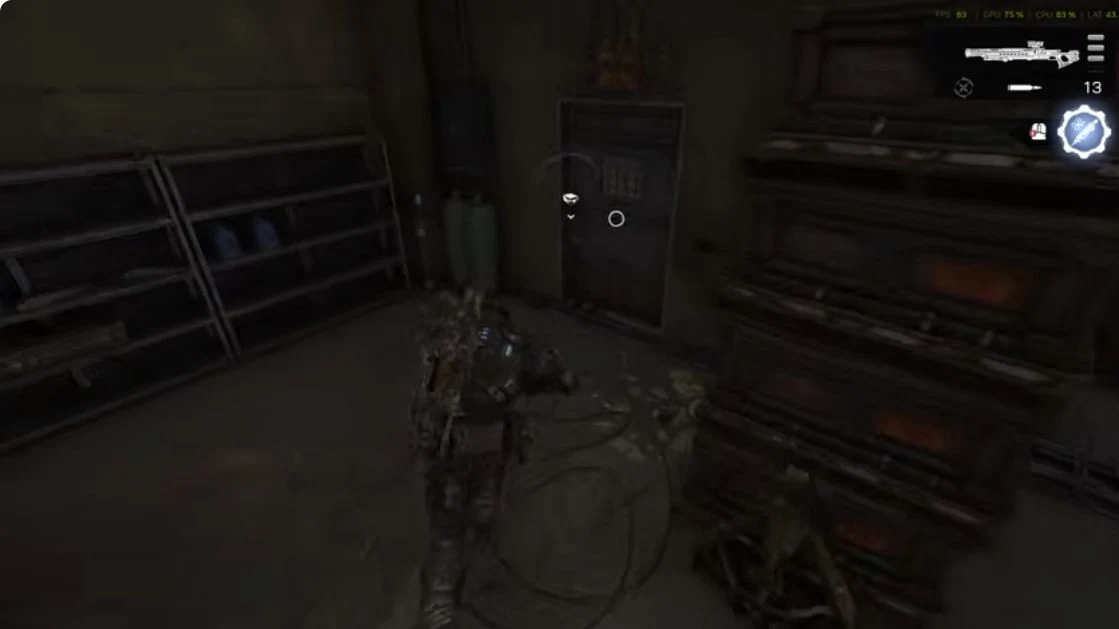
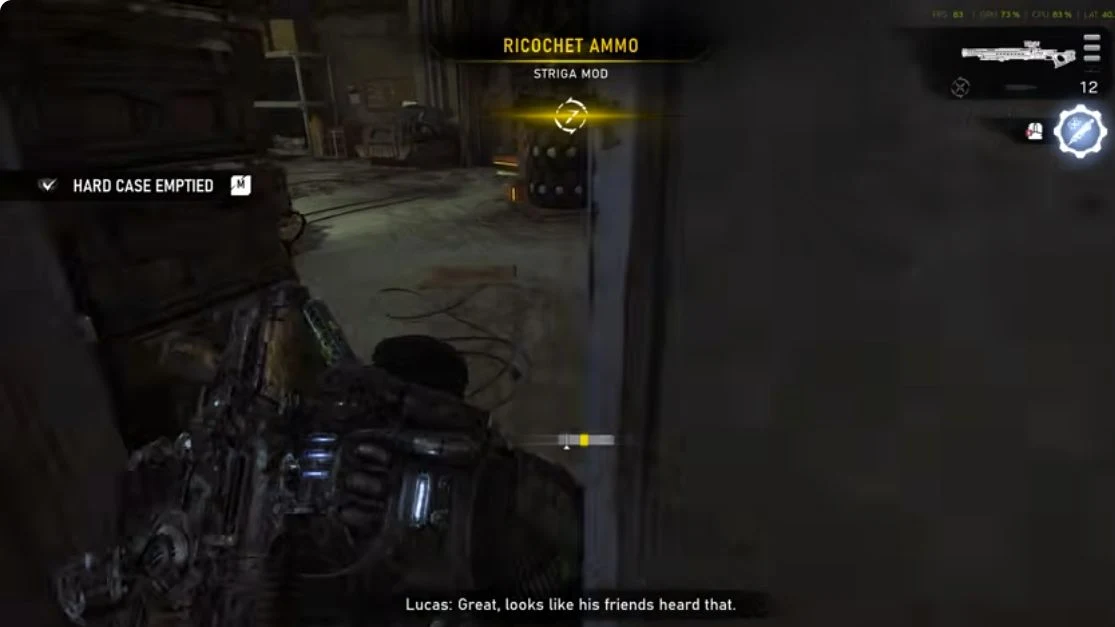
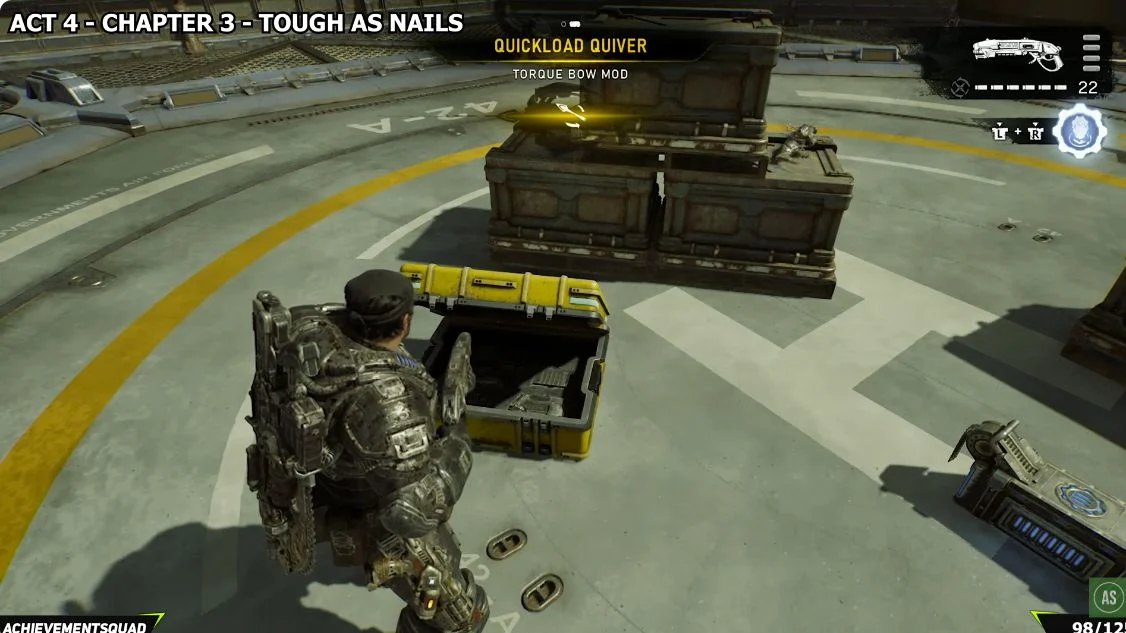
| Tough as Nails | Warehouse side room · Metal door / shelving | Ricochet Ammo · Striga Mod | |
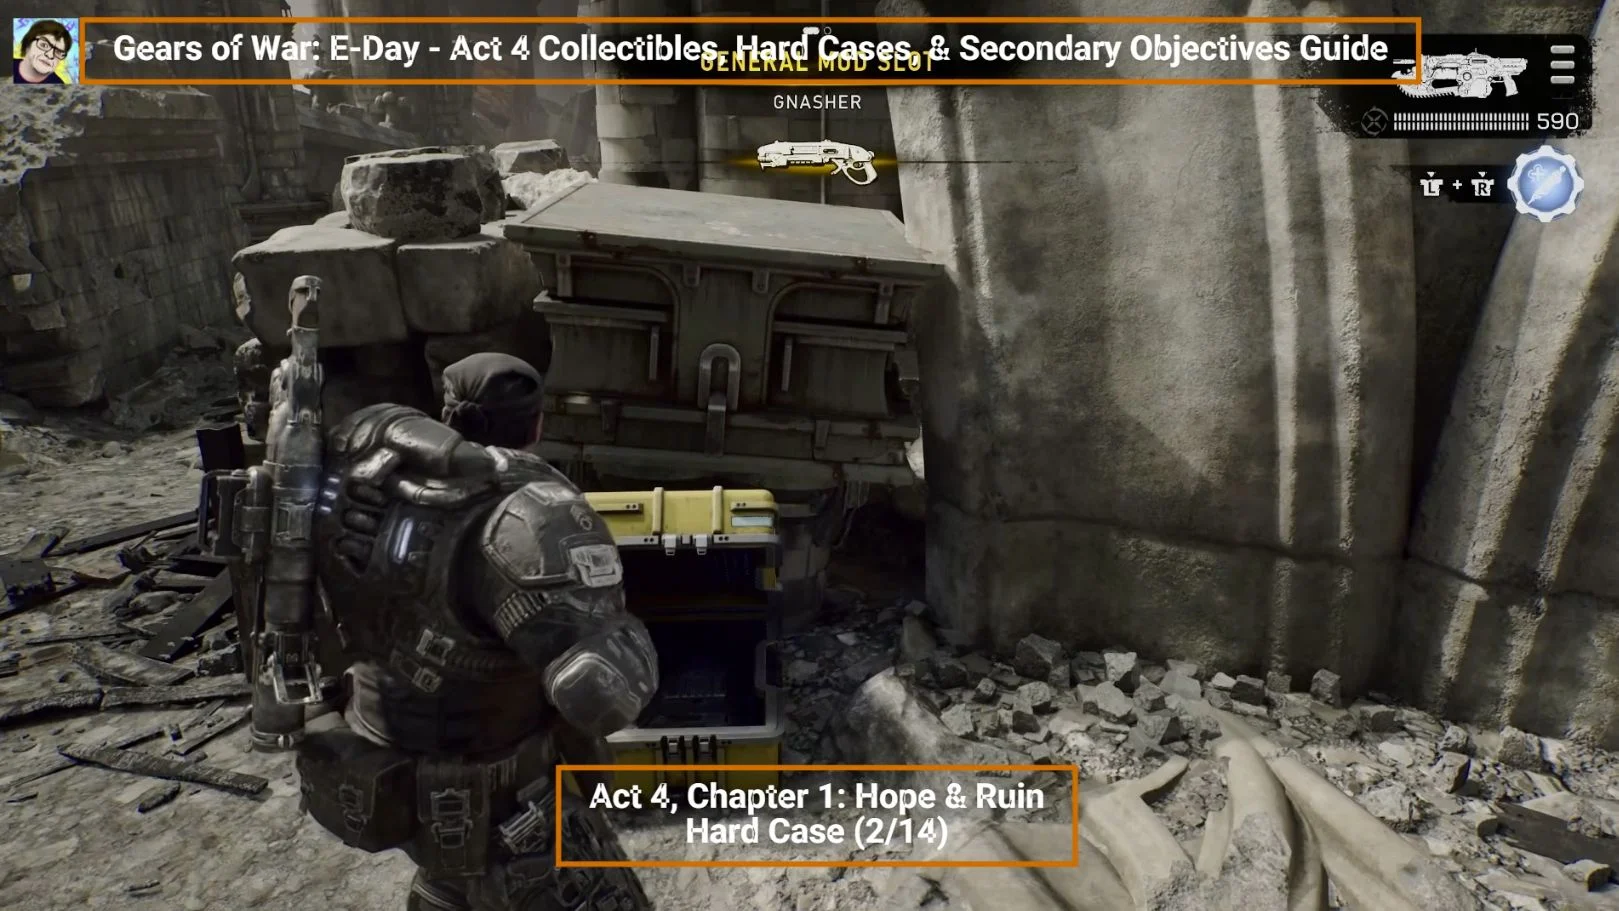
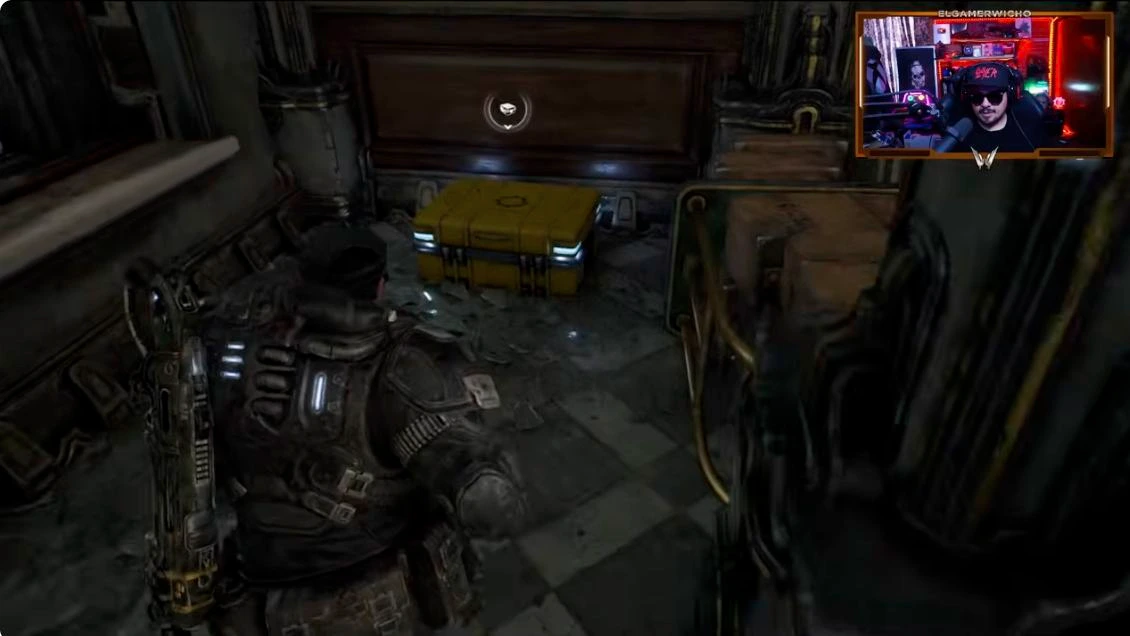
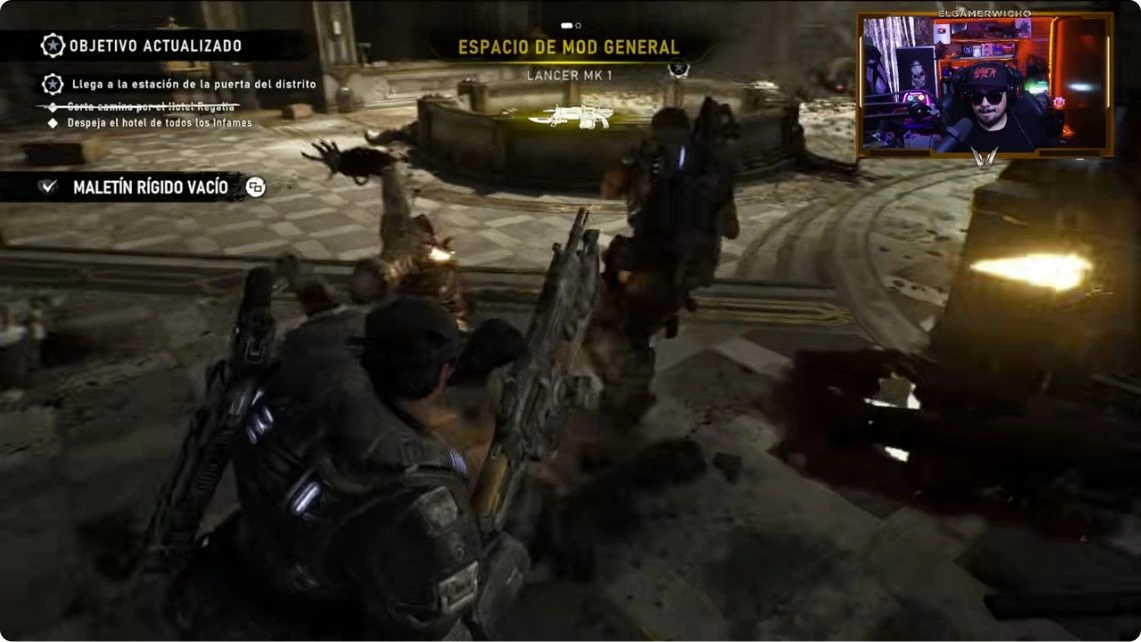
| Hope and Ruin | Hotel Regalia · pillar | Espacio de mod general · Estabilizador de ráfagas (Lancer MK1) |
Act 4.1 approaches
Webb's alternate order: match each district and landmark to your existing checkbox. Open the yellow case at the destination; these directions add no new cases to the total.
| Approach |
|---|
| Starting position: descend the left stairs. |
| Sanctuary Cathedral: eastern ruins. |
| Burial Grounds: eastern side. |
| Leave cemetery south; road end, right pavement. |
| Regalia Hotel: enter side reception room. |
| Regalia lobby: eastern corner. |
| Hotel northeast: small alley northwest of cemetery. |
| Hotel south-southwest: fountain courtyard. |
| Courtyard southwest of hotel: northwest restaurant storeroom. |
| Same courtyard: southwest coffee shop, outside. |
| Kalona University: front plaza's southern corner. |
| Kalona Square: northern gate. |
| Opera square: southwest, beside subway entrance. |
| Highview Forum east-northeast: Pool Hall rear alley. |
Act 4.2 approaches
| Approach |
|---|
| Subway entrance: opposite Supply Cache. |
| Final station: stairs up; corridor turns right, enter room straight ahead. |
| Before boarding skyrail: platform to train's right. |
Act 4.3 approaches
Alternate directions for the existing cases; Stewart's order differs from the video. Match the location before marking your checklist.
| Approach |
|---|
| Pub gate: right, over wall. |
| Warehouse: right entrance, back ledges upstairs. |
| Warehouse wall hole: crates to upper path. |
| Warehouse roof: rear-left dock. |
| Railway top-right path: behind dumpster. |
| Cargo container: helipad behind. |
| Trapped Locust: cleared train car. |
| Seradyne factory: ascend rope. |
| Factory entrance: left, ladder up. |
| Loading bay: right-hand slope. |
| Cleared power station: truck driver's cab. |
| Factory garage: lower rear-right door; defeat ambush. |
Act 4.4 approaches
| Approach |
|---|
| Gas station: inside white van. |
| Station dumpsters: climb to roof. |
| Power plant: shed-front doorstep. |
| Old radio tower: look left. |
| Shooting range: check right side. |
Act 4.5 approaches
| Approach |
|---|
| Power Grid Station: inside room. |
| Complex Access Point: south, behind van. |
| Story-route Supply Cache: same room. |
| After Brumak: left police car, before gate. |
Act 4.6 approaches
| Approach |
|---|
| Refinery entrance: main desk. |
| Elevator exit: right walkway, ladder up. |
| After pipe: pass building entrance to railing. |
| Keycard door: immediately right. |
| Cross walkway: room's right, floor hole. |
| Amber Labs hallway: first right, straight room. |
| Schematics room: control panel. |
| Schematics keycard door: walkway end, opposite cache. |
Hope & Ruin
Open recorded cases
Thirteen additions; Regalia pillar/trolley is listed above. Districts approximate; later chapters partial.[9]
Your checks are saved in this browser. This checklist does not sync with the game.
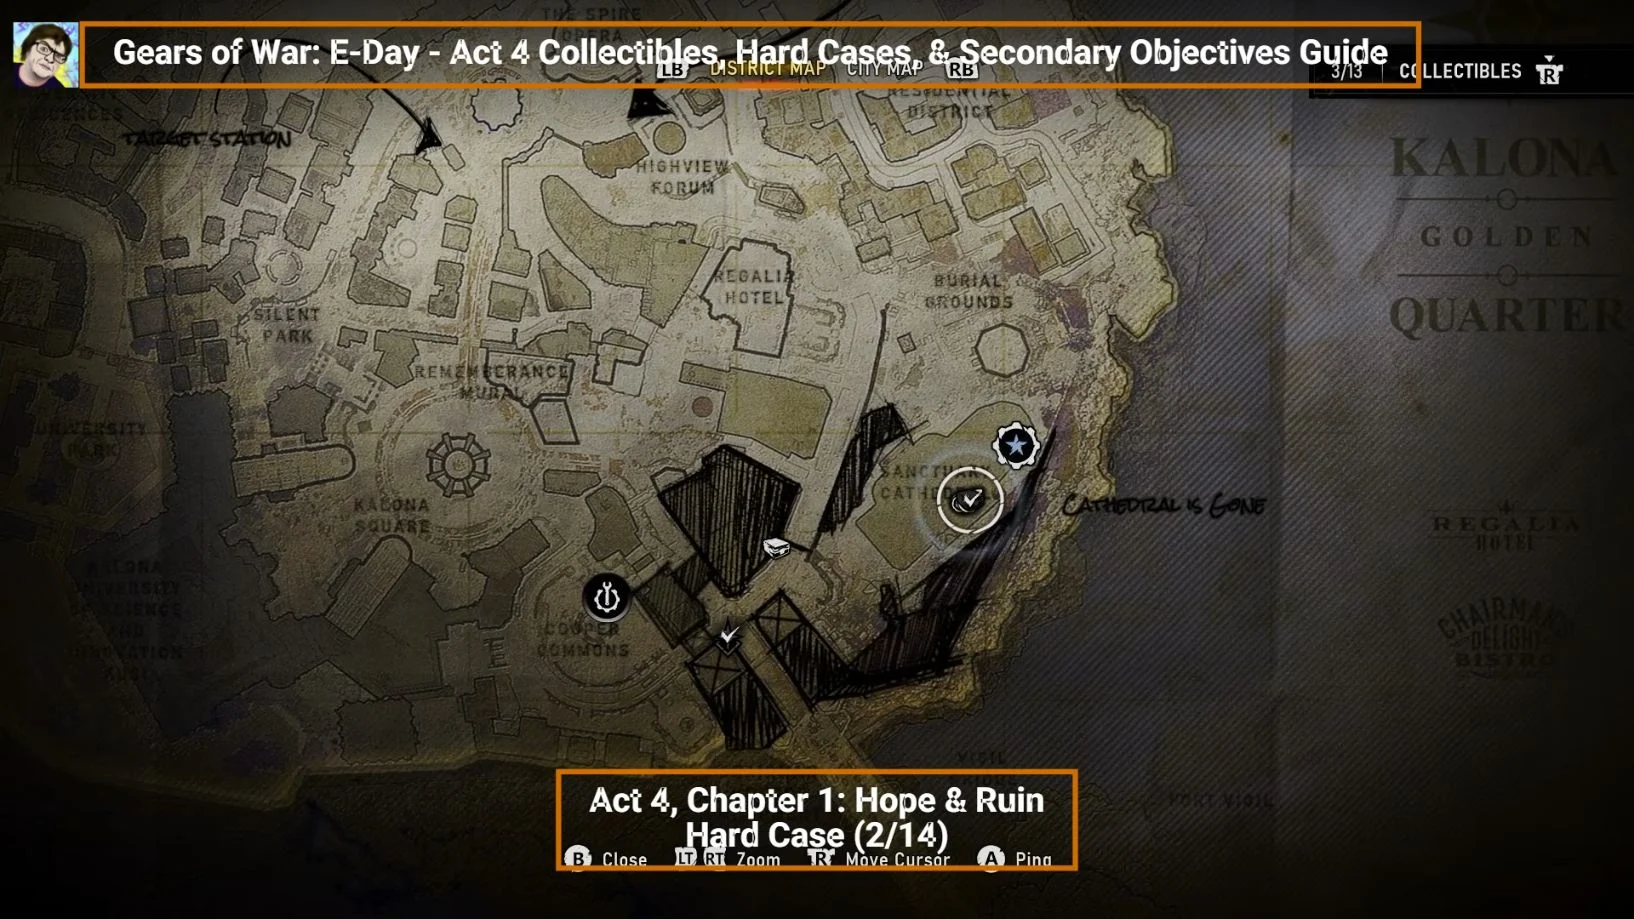
Act 4.2 · recorded cases
Open recorded cases
Your checks are saved in this browser. This checklist does not sync with the game.
| Done | Landmark |
|---|---|
| Subway · hotel advertisement | |
| Subway · locker room | |
| Station · collapsed beam |
Act 4.3 · Warehouse Hard Case
Reception
Act 4.1 · hotel case
Act 5 · checklist and chapter routes
Your checks are saved in this browser. This checklist does not sync with the game.
| Done | Chapter | Landmark | Reward |
|---|---|---|---|
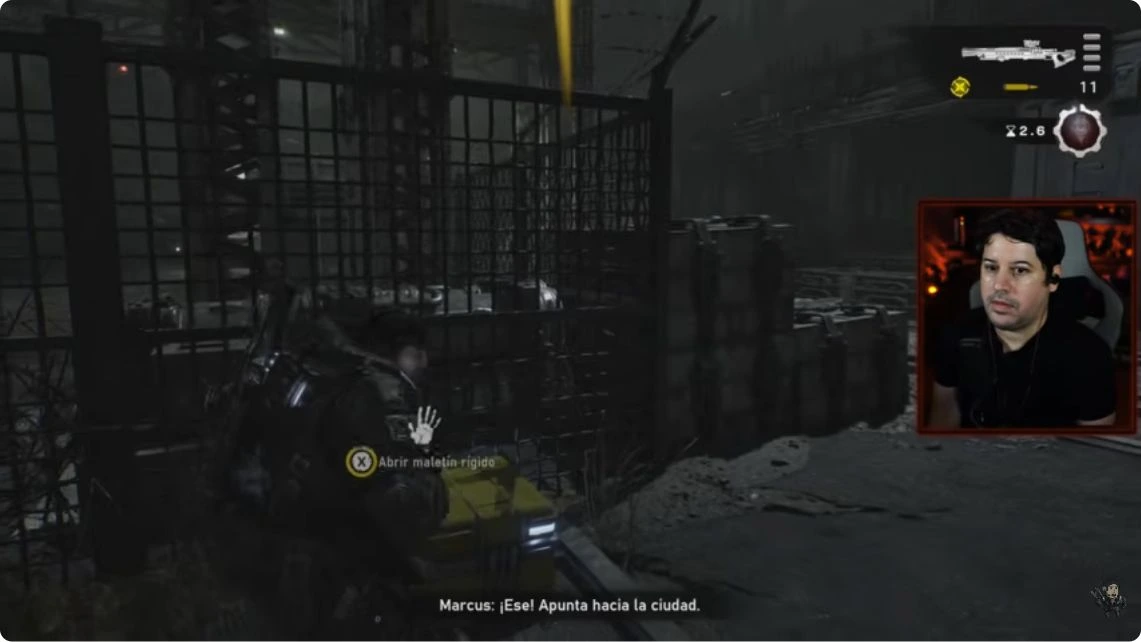
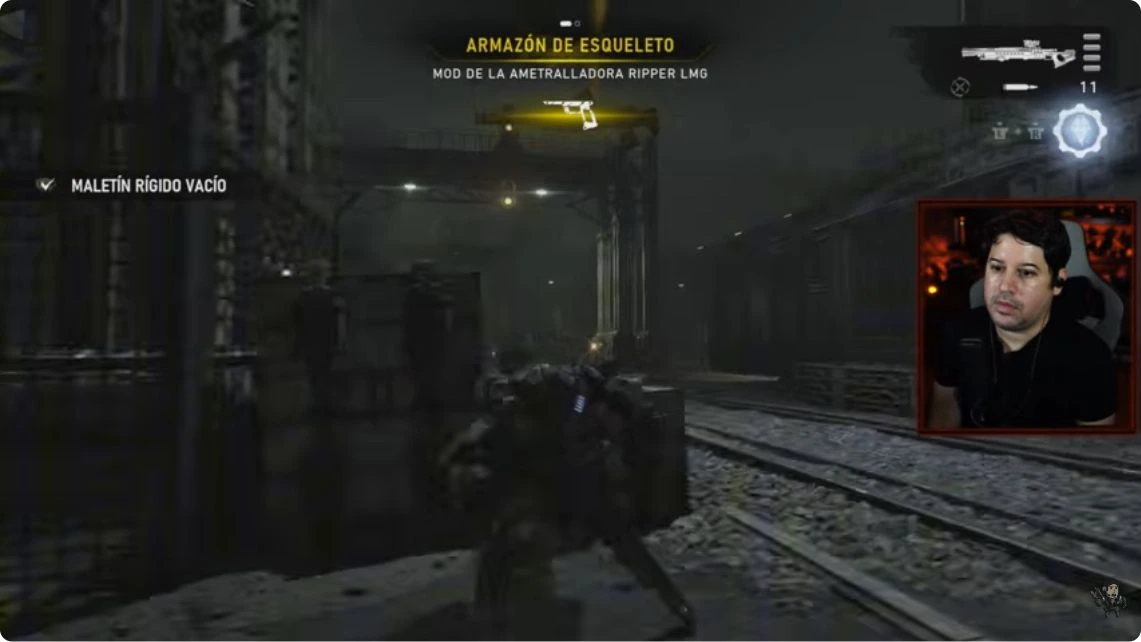
| One Problem at a Time | Rail yard fence | Armazón de esqueleto · Ripper LMG mod | |
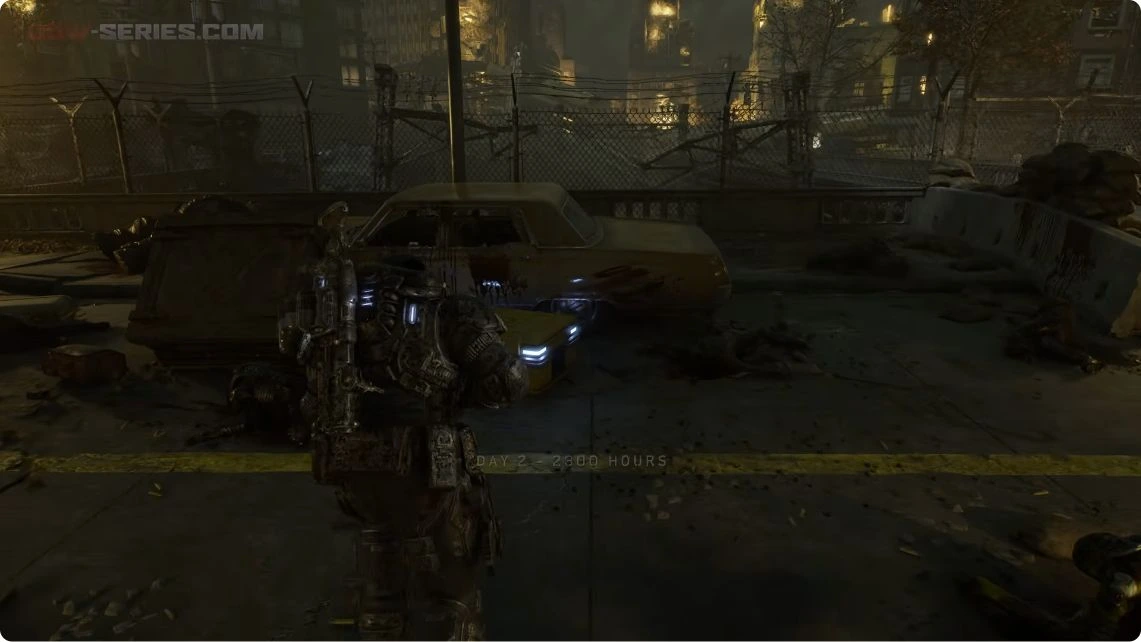
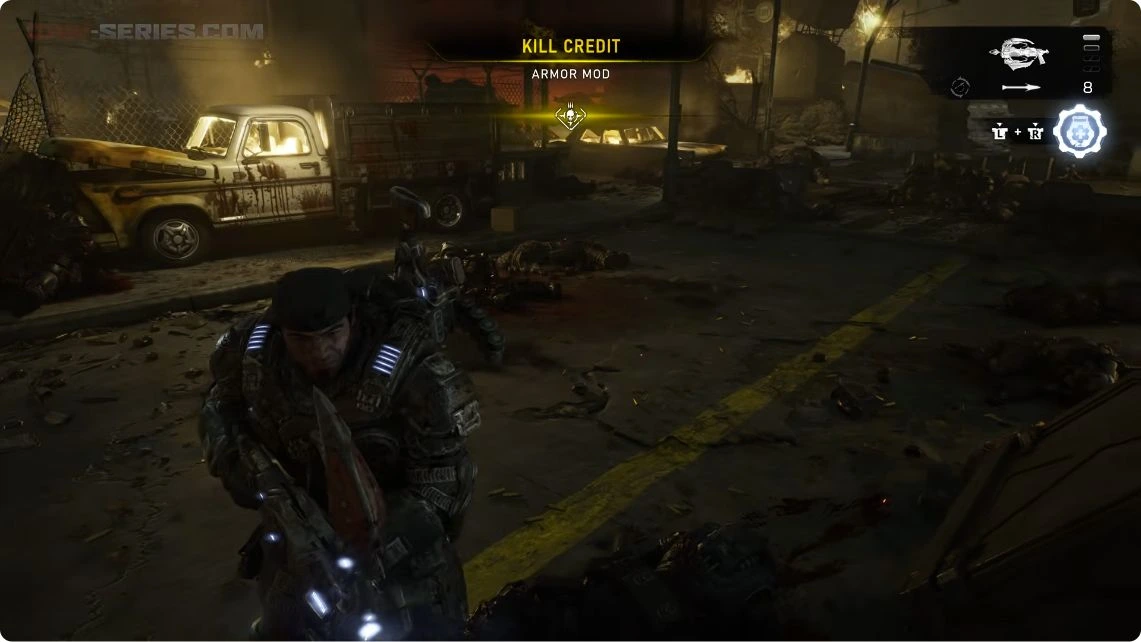
| Ghost Town | Fenced sedan | Kill Credit · Armor Mod | |
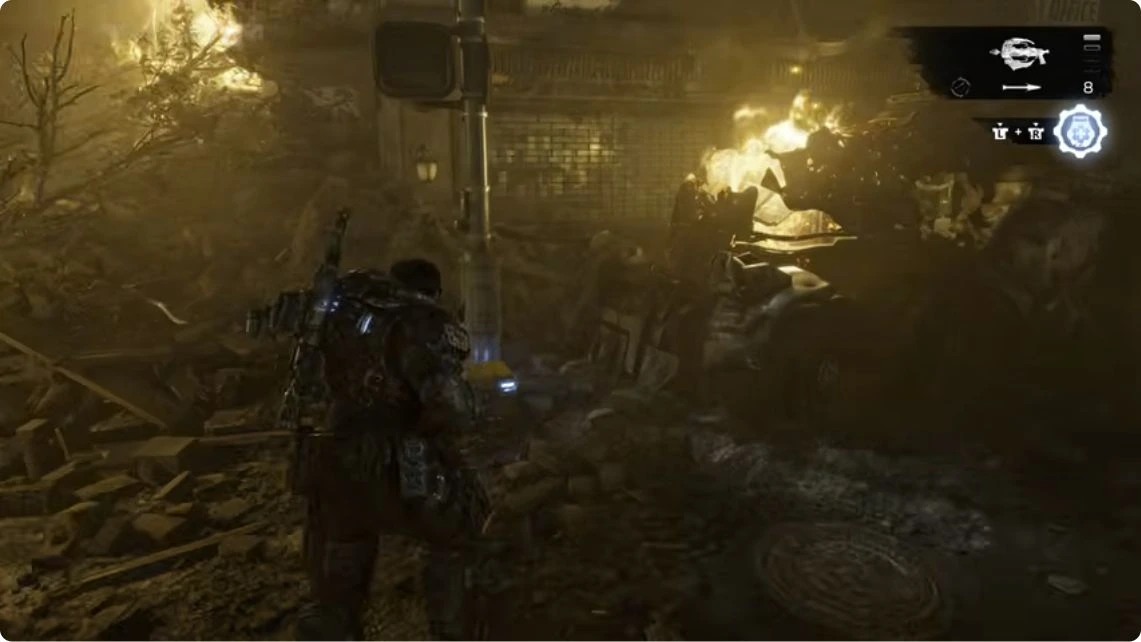
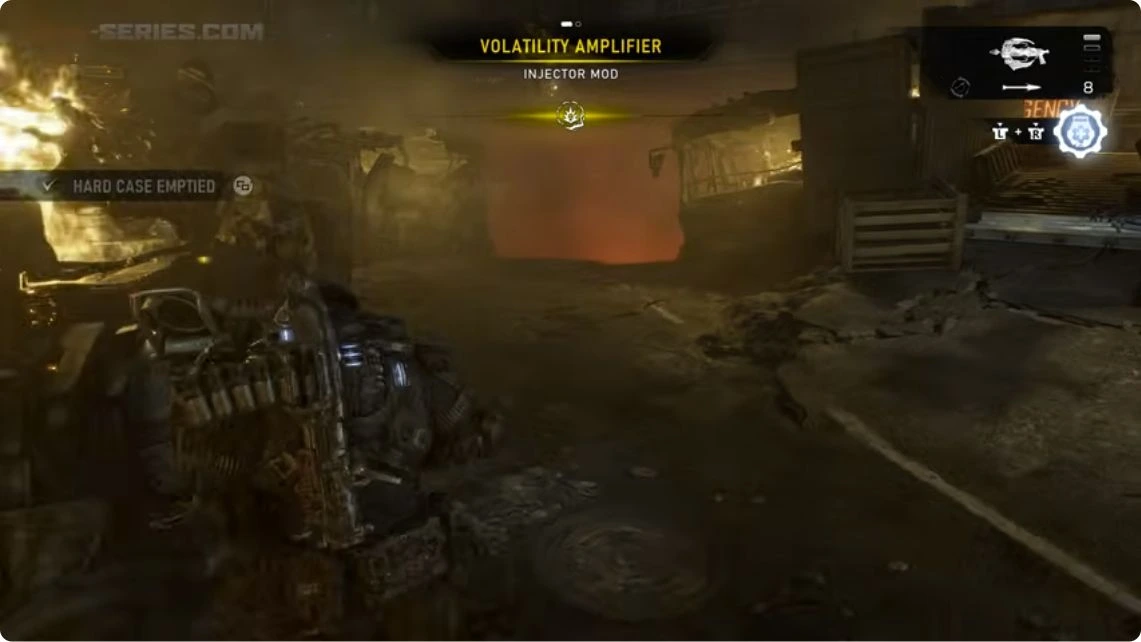
| Ghost Town | Burning wreckage | Volatility Amplifier · Injector Mod | |
| Ghost Town | Rooftop duct | Name not displayed |
Act 5.1 · rail yard Hard Case
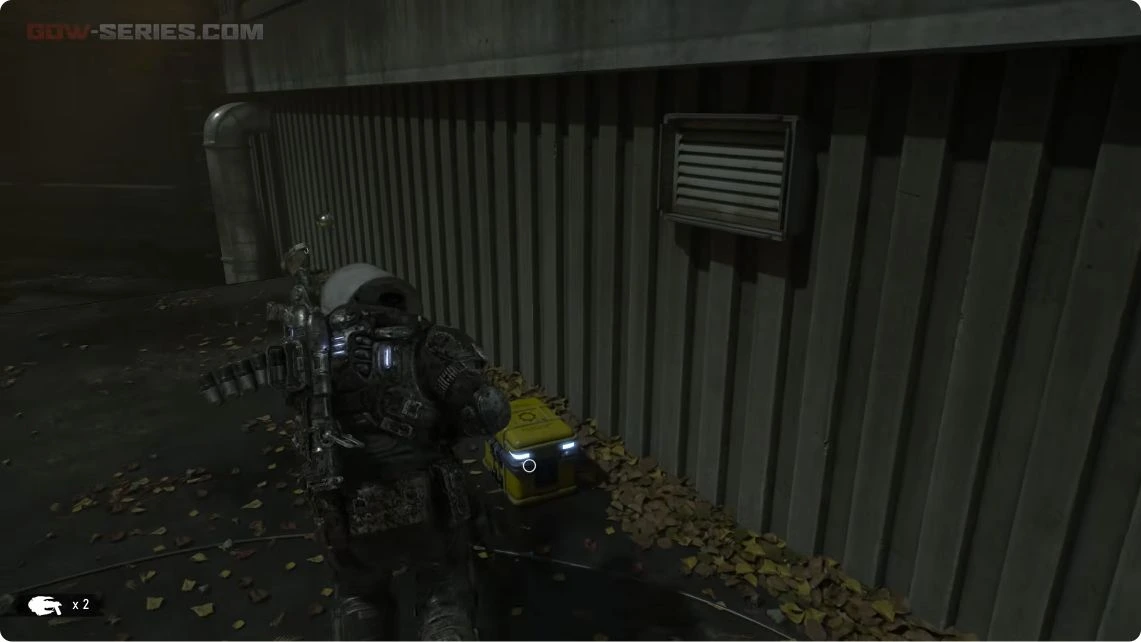
Open the yellow case against the wire fence beside the rails.[6]
Reward label stays Spanish; its English localization is unverified.
Act 5.2 · two Ghost Town cases
One case sits beside a damaged sedan and wire fence; the other lies against the brick wall beside burning wreckage.[7]
Act 5.2 · rooftop case
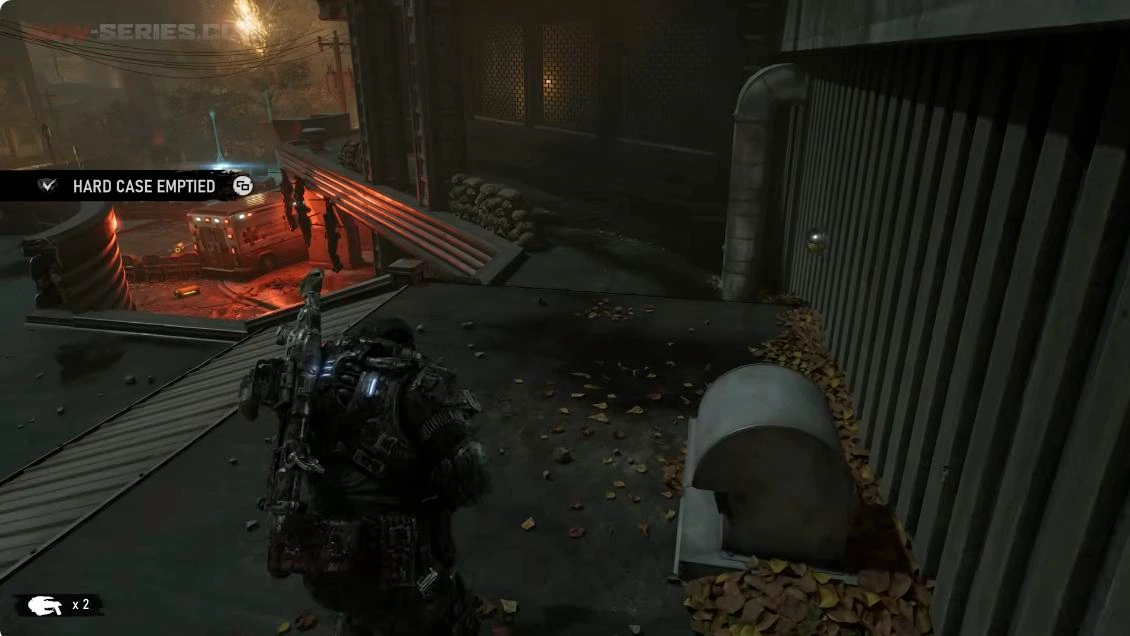
Check the corrugated rooftop wall beside the curved duct.[7]
Act 5 approaches
These five cases are already included in the campaign total. Follow the chapter's route rather than adding another checklist entry.
| Chapter | Arrival → pickup |
|---|---|
| 5.1 | While finding a train, listen for Marcus identifying one facing the city; inspect the nearby case. |
| 5.1 | Before boarding the final train, go right and climb the small ledge. |
| 5.2 | Follow the tracks to the left-hand progression slope; check its top. |
| 5.2 | From that case, left through the cracked wall; climb the road, check right beside the lamppost. |
| 5.2 | After the hospital, dodge mortars into the checkpoint crater beneath the bridge; case ahead-right. |
Openings
Open the filmed case reference
Your checks are saved in this browser. This checklist does not sync with the game.
| Done | Chapter | Landmark |
|---|---|---|
| 4.3 | Window crates | |
| 4.3 | Tarps | |
| 4.3 | Shelves | |
| 4.3 | Brick pallets | |
| 4.3 | Dumpster | |
| 4.3 | Helipad crates | |
| 4.3 | Sealed door | |
| 4.3 | Catwalk gate | |
| 4.3 | Drums | |
| 4.3 | Shelving | |
| 4.3 | Truck wheels | |
| 4.4 | Van | |
| 4.4 | Roof pipes | |
| 4.4 | Shed doorway | |
| 4.4 | Shutters | |
| 4.4 | Transformer | |
| 4.5 | Meters | |
| 4.5 | Roller door | |
| 4.5 | Lamp | |
| 4.5 | Mesh wall | |
| 4.6 | Catwalk | |
| 4.6 | Boiler | |
| 4.6 | Service crates | |
| 4.6 | Broken grating | |
| 4.6 | Valve | |
| 4.6 | Terminals | |
| 4.6 | Furnace | |
| 5.2 | Cab |
Two approaches worth slowing down for
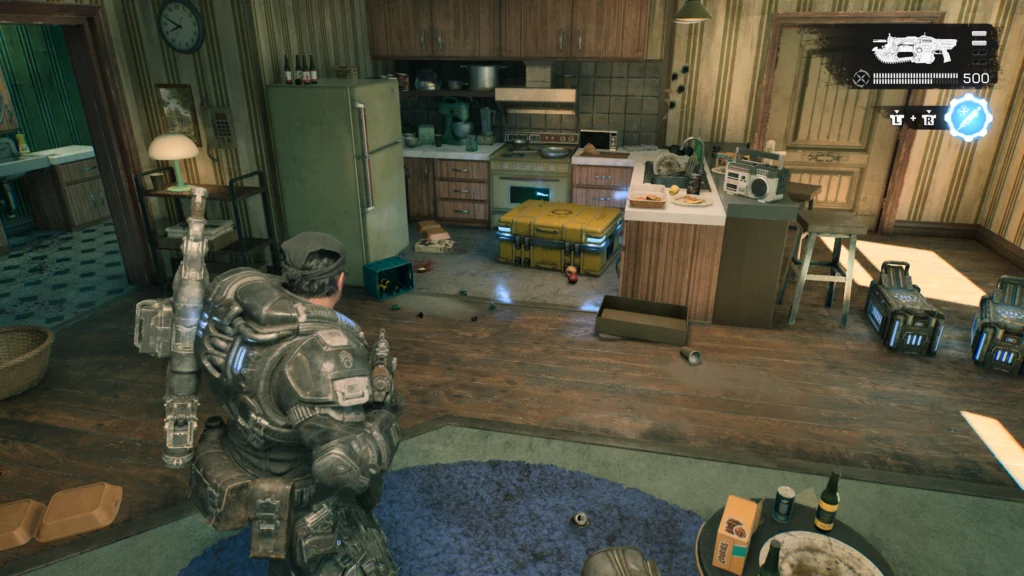
Finish the current district sweep before the Charlie Squad transition or entering Kalona Hotel. The illustrated route identifies these as transitions that close earlier exploration.[21]
Use the overall tally when replaying
Gamer Social Club’s completed campaign review reports that Hard Cases and secondary objectives are tracked by Act, while replaying a chapter resets its local discoveries. The overall completion tally remains. Keep a separate location checklist when filling a short Act count.[13]
The October 5 patch fixes newcomers receiving earlier War Journal progress and Forge rewards. Do not rely on joining a completed save for cleanup.[22]
Location coverage
| Scope | Locations | Boundary |
|---|---|---|
| Act 2 | 36 | Five stage checklists |
| Act 3 | 38 | Six chapter checklists |
| Act 4 | 46 | Checklists and later filmed openings |
| Act 5 | 5 | Checklists and later filmed opening |
| Recorded total | 125 locations | Across the linked sources |
| Standard collectibles | Separate checklist | Counted separately |
Use the checkboxes for earlier routes and the timestamp links for later openings. A matching location count does not verify your build or achievement completion.
Sources & further reading
- First-hand campaign report: four separate completion totalsVGC · Chris Scullion · October 1, 2026
- Act 2 collectibles, Hard Cases and secondary objectives with gameplay screenshotsGamer Social Club · Adam “Addy” Stewart · October 1, 2026
- Firsthand Act 3 collectibles, Hard Cases and secondary objectivesGamer Social Club · Adam “Addy” Stewart · October 2, 2026
- Act 4GOWSeriesVideos · October 1, 2026
- Complete E-Day campaign: original PC gameplay recordingHegsbroGaming · 2026-10-02
- Act 5 recorded case and cachesEMK KrAuSeR · 2026-10-02
- Act 5 recorded Hard Case openingsGOWSeriesVideos · 2026-10-01
- Recorded Act 4 routesElGamer WICHO! · 2026-10-03
- Act 4 recorded case routeOhNoNotAddy · YouTube · October 4, 2026
- CasesAchievementSquad · YouTube · October 4, 2026
- E-Day official achievements list (campaign hints)Xbox Wire · September 9, 2026
- Campaign loadout observations and in-game Supply Cache / Weapon Mods tutorial screenshotsQualbert · Mach Speed · October 1, 2026
- First-hand campaign review: Act-level Hard Case / secondary objective tracking and chapter replayGamer Social Club · Adam “Addy” Stewart · October 1, 2026
- Act 2 collectibles, Hard Cases and secondary objectives: companion gameplay videoOhNoNotAddy · Adam Stewart · October 1, 2026
- Hold the Line chapter guide: reported gear pickupsGame8 · Gears of War: E-Day Walkthrough Team · October 3, 2026
- Act 3OhNoNotAddy · October 3, 2026
- Act 4 case approachesDan Webb / XboxAchievements · October 7, 2026
- Act 4 routesAdam Stewart / GSC · October 4, 2026
- Act 4 approachesNightlyGamingBinge · October 4, 2026
- Act 5 routesAdam Stewart / GSC · October 4, 2026
- Act 2 gameplay screenshot routes, including Supply Cache locationsPatch Crazy · Harry Smith · October 2, 2026
- October 5 patchThe Coalition · October 5, 2026