
Keep the chapter you need open
Open only your current chapter below. Tick it after clearing it; the tick is your own note, not a connection to the game save. The collectible count is a separate check before leaving a chapter.
Your checks are saved in this browser. This checklist does not sync with the game.
| Done | Chapter | Collectibles |
|---|---|---|
| 1 · One Problem at a Time | 1 | |
| 2 · Ghost Town | 3 | |
| 3 · Storm Clouds | 0 | |
| 4 · Resolute | 5 | |
| 5 · The Fall of Kalona | 3 |
Keep the Act 5 collectible checklist beside this route. For upgrade rewards and optional rescues, use Hard Cases, Supply Caches and secondary objectives.
1 · One Problem at a Time
Story spoilers · open to readOpen One Problem at a Time: route, encounters and pickup pauses
Reported route: leave the burning train for the adjacent one. At the transfer point, take the line facing Kalona and use its front control lever.[4]
After the train sequence, check left for Lorin Galvin’s tags before entering the park.[2]
Follow the jump and train-direction cues before looking for optional items. The named pickup pause comes after the train section.
2 · Ghost Town
Story spoilers · open to readOpen Ghost Town: route, encounters and pickup pauses
Reported route: climb back to street level, pass through the hospital and covered track route. At the fountain dead end, climb the apartment’s elevator cables; hold the roof for extraction.[4]
The illustrated pickup route confirms the hospital’s second floor and the building climbed during the escape. Joseph Kopec’s tags are in the burning room beside a seated body.[2]
During sniper or mortar pressure, take the sheltered building route. Once the rooftop objective becomes a hold, watch the extraction cue instead of continuing to search for another exit.
3 · Storm Clouds
Story spoilers · open to readOpen Storm Clouds: route, encounters and pickup pauses
Reported route: fight the pursuing Reavers from the Raven, then clear threats near the Raven’s Nest landing zone so the aircraft can touch down.[4]
As the aircraft descends, shift from distant pursuers to enemies threatening the landing area. Follow the active flight objective rather than trying to clear the entire skyline.
4 · Resolute
Story spoilers · open to readOpen Resolute: route, encounters and pickup pauses
The published gameplay capture’s subtitle explicitly identifies three valves needed to flood the dock.[3]
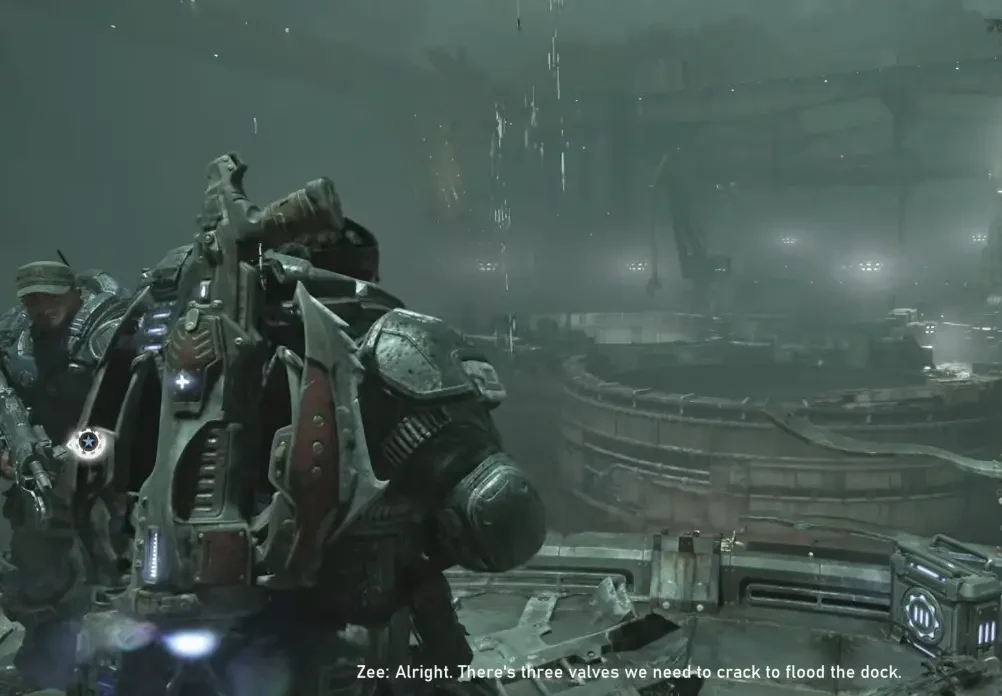
Ben-Gun’s recording shows Zee operating the valves while Bravo defends. After the mechanism breaks, Zee handles the manual cranks; these are not three player-operated controls.[5]
| Video | Action |
|---|---|
| 35:54 | Mechanical backup: defend Zee and the chains. |
| 39:32 | Third valve jams; broken chains clamp the valves. |
| 40:34 | Cross the gate’s top to its far-side access hatch. |
| 44:03 | Zee descends below the spillway; Bravo takes the dock elevator. |
| 46:02 | Protect the braces; return to the elevator when called. |
| 48:46 | Climb to the crane, use its platform controls, clear the ship. |
The firsthand pickup guide places the captain’s log in the command meeting, the decommissioning plans in the workshop after crawling under a generator, Arthur Palarmo’s tags after Zee’s ladder, and the skyline sketch at the crane’s top.[2]
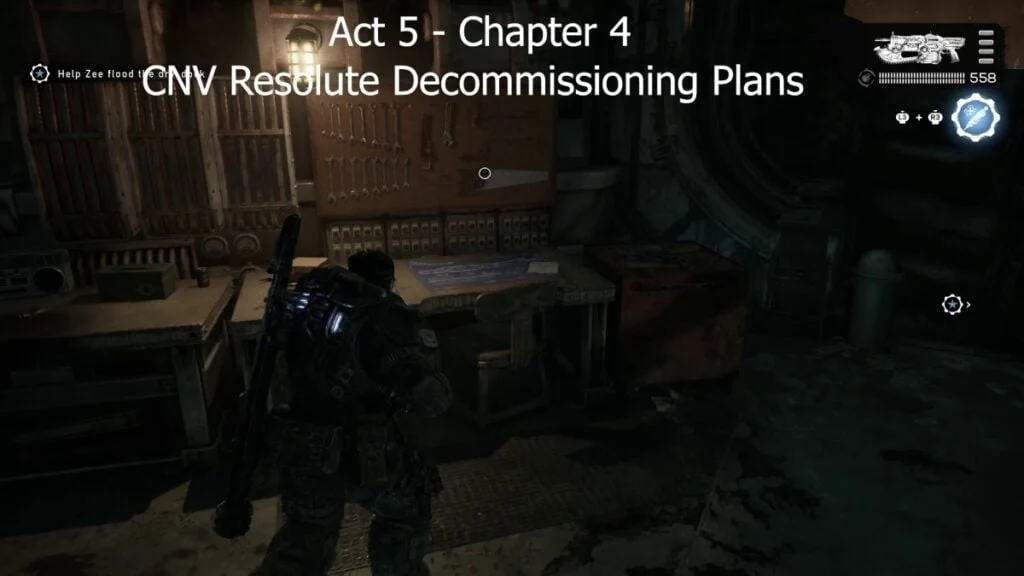
Keep two separate checks: which valve task is active, and whether the dock is deep enough for the ship. If the third valve breaks, follow the new access objective rather than restarting the working valves.
5 · The Fall of Kalona
Story spoilers · open to readOpen The Fall of Kalona: route, encounters and pickup pauses
Reported bridge route: reach the east control room via the lower deck. When the console fails after briefly raising the bridge, leave it and follow the revised operation.[4]
- 68:53
Leave the failed controls
Window → deck → opposite controls.
- 69:41
First Impaler fight
Keep distance from his grenades; fight until the story transition.
- 79:36
Use the Skytrain
Cross its passage toward the detonator.
- 80:40–84:33
Second Impaler fight
Use separate cover, damage him, then activate the detonator.
First fight · Second fight. Gunfire damages him in this run. Difficulty, mandatory weapons, special weak points and fixed health sub-phases are not established.[5]
The firsthand collectible guide puts Alton Hau’s tags at the impaled bodies on the bridge. Bryce Valen’s tags follow the final boss; Carlos Santiago’s tags and photo follow finishing the game.[2]
After credits, compare the journal with the 12-item Act 5 checklist and the achievement checklist. Use the missing item or objective to choose a replay chapter; these notes do not prove that story completion also satisfies every completion reward.
What this route establishes
Reported routes come from Whisper’s illustrated guide: its author and difficulty are unstated, and its sourcing policy allows research alongside gameplay. Named firsthand guides support the separate encounter and pickup notes.[6]
The timestamped dock and final-operation notes were checked against Ben-Gun’s recorded gameplay. Earlier chapter transitions remain publisher-reported. The successful recording does not establish failure thresholds, every possible tactic, or difficulty-specific behavior; the Impaler flow describes two encounters rather than invented health phases.
Advice labelled Editorial is our planning suggestion. It does not establish a required weapon, a fastest route, an enemy health value or a difficulty-specific strategy.
Sources & further reading
- Published campaign order: all acts and chaptersWhisper of the House · October 2, 2026
- Act 5 collectible locations (ending spoilers)The Nerd Stash · Julio La Pine · October 2, 2026
- Gameplay subtitle capture: three valves to flood the dockPublished by Whisper of the House · capture author not stated
- Published illustrated Act 5 route and three-valve subtitle captureWhisper of the House · October 2, 2026
- Act 5 recorded gameplay: mechanical flood backup and two final encountersBen-Gun / YouTube · October 2, 2026
- Publisher editorial and sourcing policyWhisper of the House