
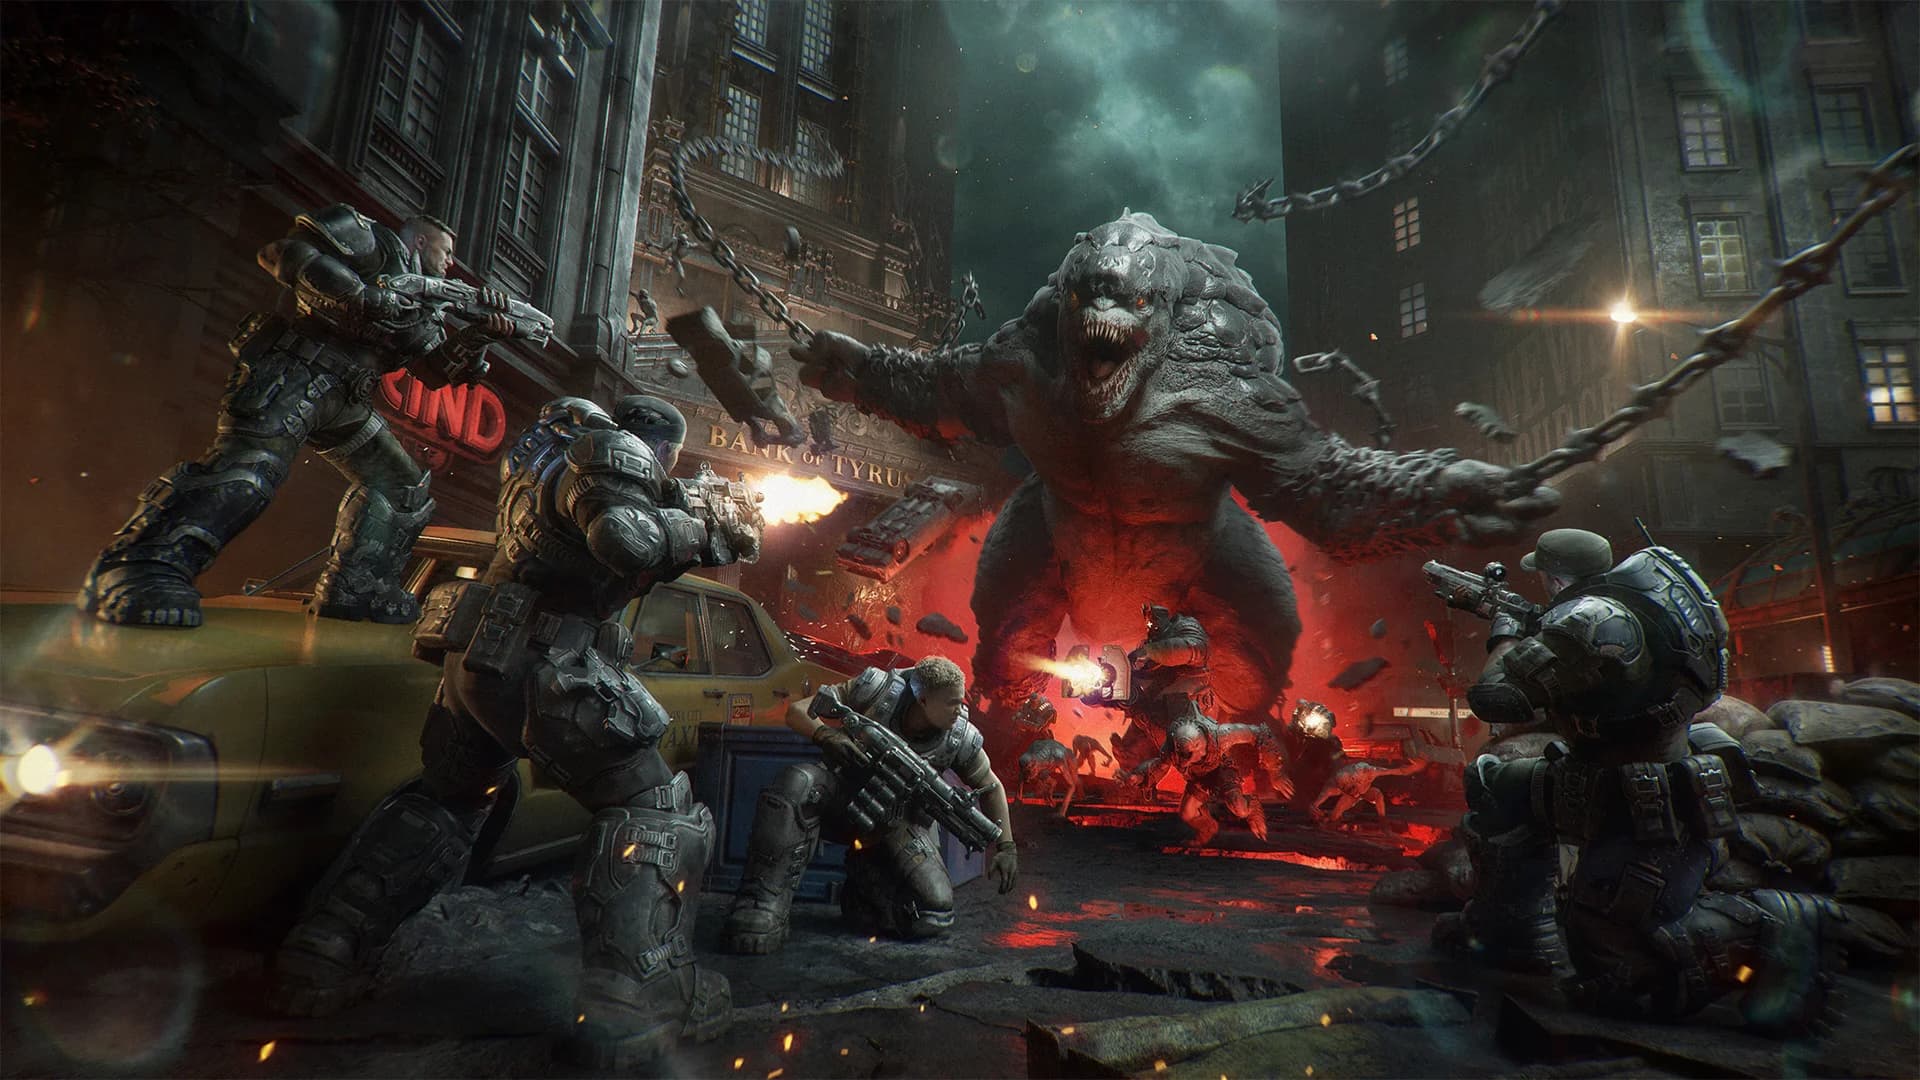
Your squad on a shared battlefield
Each squad has its own mission. Help other squads when your paths cross, join forces against Invasion Events, and extract with your own team.
Squad 1
4 playersOwn mission & extractionSquad 2
4 playersOwn mission & extractionSquad 3
4 playersOwn mission & extraction
The battleground continues as squads arrive and leave, with equipment from earlier teams remaining in the space. Invasion Events create larger threats that can disrupt missions and even extraction. Helping another squad can make the wider battlefield easier to survive.[1]
How many friends can I play with? Do I need eleven?
You form a squad of up to four, including yourself. Two other squads share the battleground; you do not need to organize an eleven-friend party.[1]
Can I play a private solo mission with bots?
Private solo support and Horde AI squadmate options have not been detailed yet.[1]
Class abilities and passive bonuses
| Class | Passive benefit | Tactical gear |
|---|---|---|
| Assault | Extra damage while in cover. | Sonic Disruptor sends out stunning waves; a flexible mid-range role. |
| Breacher | Resistance to status effects and melee damage. | Adrenaline Injector restores health and reduces incoming damage for close-range pushes. |
| Marksman | Bonus critical damage. | Pulse Drone marks Locust for the team, supporting precision fire. |
| Medic | Faster health regeneration. | Stim Vaporizer heals and revives nearby Gears, including players from other squads. |
Classes are independent of character skins, and duplicates are allowed. A team can bring four Breachers or mix roles. Cover-oriented players have an obvious fit in Assault; players who want to keep teammates fighting can choose Medic. Marksman focuses on precision, while Breacher supports getting close.[1]
Choose a session length and difficulty
| Playlist | Objective structure | Typical session |
|---|---|---|
| Blitz | 1–2 objectives | 15–20 minutes |
| Siege | Several objectives across the map | 20–40 minutes |
| Horde | Defend a position for 10 waves | 50–60 minutes |
| Difficulty | Class level |
|---|---|
| Infantry | 10–20 |
| Commander | 20–30 |
| Allfather | Maximum level |
Higher difficulties increase the rewards and the challenge. Match difficulty to your class progress: levels unlock more loadout options and raise base health and damage at milestones.[1]
| Objective | What your squad does |
|---|---|
| Secure | Clear an occupied area. |
| Calibrate | Defend a sequence of zones near the R.I.G. |
| Repair | Recover and reinstall missing R.I.G. components. |
| Defend | Protect the R.I.G. while it scans. |
| Horde | Keep the R.I.G. alive through ten waves. |
The R.I.G. — Resonation Imaging Geographer — maps the Locust tunnels beneath the city. Optional secondary objectives and COG resupplies provide more gear, perks and parts. Mission modifiers and squad-specific Poisons can raise the danger as you stay out longer.[1]
Spend Energy and manage equipment
Energy goes into a shared squad pool, but purchases at Supply Caches are personal. Your available equipment depends on class progression. Discuss larger purchases with your squad so one player’s resupply does not consume the resources another needs.[1]
Equipment and grenades occupy the same inventory slot, so picking one means giving up the other. Energy can also purchase and upgrade turret installations; heavy weapons can be detached from turrets when you need to move the firepower.[1]
| Resource | How it works |
|---|---|
| Energy | Shared spending pool for the current squad mission. |
| Squad Perks | Temporary benefits that end with the run. |
| Weapon Parts | Pay for unlocked mods; mission-earned parts are kept after a successful squad extraction. |
Finish the mission and reach the Raven
- 01
Deploy
Choose class, playlist and difficulty.
- 02
Complete the mission
Finish the objectives and collect optional rewards.
- 03
Board the Raven
Clear the landing zone and get aboard before it leaves.
- 04
Bank the parts
One successful extraction from your squad is enough.
At least one member of your own squad must extract for mission success. Another squad leaving safely does not bank your team’s rewards. When the Raven arrives, prioritize reaching it before departure rather than chasing one last pickup.[1]
COG tags and squad wipes
A killed player drops COG tags. A squadmate can recover the tags and take them to a Supply Cache to bring that player back. Someone from another squad can recover them for an immediate revive, making cross-squad rescues especially valuable.[1]
A full squad wipe consumes a Squad Life. Run out of lives and the mission ends, with partial XP awarded. The Medic’s revives and another squad’s help can keep a difficult run alive before it reaches that point.[1]
Class levels and three kinds of mods
| Mod family | Examples of what it changes |
|---|---|
| Armor | Health, ammo capacity, weapon swapping or rewards from executions. |
| Tactical gear | Cooldown, range and extra effects for the class ability. |
| Weapons | Weapon behavior and attachments, including a bayonet-equipped Gnasher. |
Each class has 30 levels at launch. Class progression unlocks mods; Weapon Parts purchase the unlocked Weapon Mods. Parts come from class progression and missions; successful extraction keeps the parts collected during a run. Weapon customization is shared across your classes.[1]
Player Level, Re-Up, Medals and cosmetic currencies are covered in Progression & Rewards. Those account-wide systems sit alongside Horde’s class levels and combat upgrades.[1]
August beta player and class levels reset for launch. Earned beta challenge cosmetics carry over.[2]